AutoScale Deployments in vRA 8.X with native PowerShell support.
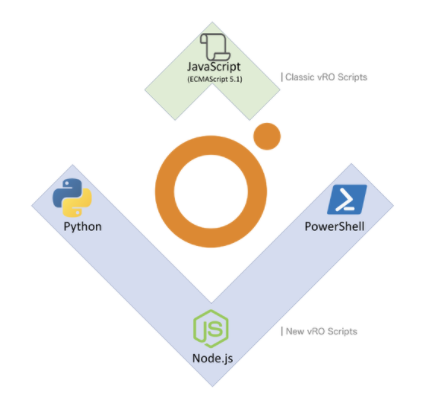
One of the coolest features in vRA 8.X is the native support for PowerShell via the new functionality of vRA Polygot, you can read more about PolyGot on Tony’s blog who is one amongst the core developer of this feature.
How vRO 8.1 delivered thousands of integrations overnight
This feature opens up a plethora of opportunities for sysops admins who are found to be diverse in their choice of a scripting language but in the end have a common goal for automation.

I was recently involved in building a POC soln for a customer who was an expert in PowerShell and wanted a non – JS way of accomplishing his tasks, with the launch of vRA 8.X – we now get this capability.
Based on the number of requests which have been pouring in from across the globe – it felt this was a very interesting topic and was in demand with many of our customers and hence this blog, also note there are links to the vro package too – which can help you to emulate the same on your lab.
Before we go to the tech side of the things, lets look at why we would need an auto-scalable solution fo our workloads.
- Auto-scaling is a way to automatically scale up or down the number of compute resources that are being allocated to your application based on its needs at any given time.
- Before vRealize Automation, it was very difficult to automatically scale (AutoScale) a server setup. In a traditional, dedicated virtual environment, you are limited by your hardware resources. Once those server resources are maxed out, your application would inevitably suffer from a performance perspective and possibly crash, thereby causing you to lose data and/or potential business. This solution allows you to set up and configure the necessary trigger points with alerts in vROPS so that you can create an automated setup that automatically reacts to various monitored conditions when thresholds are exceeded.
- Today, vRealize Automation is totally revolutionizing the way VM resources are allocated, making it possible to build a fully scalable server setup on the Cloud. If your application needs more computing power, you now have the ability to launch additional compute resources on-demand and use them for as long as you want, and then terminate them when they are no longer needed.
Below are some details on what the solution is about
|
vRealize Automation & vRealize Operations both in Minimal / Distributed mode are supported. |
|
The solution monitor’s virtual environment and report on faults, health issues, anomalies, risk and efficiency, based on the alerts created by these symptom’s in vROPS the solution should invoke vRA Rest API’s via PolyGot to trigger an AutoScale. |
Here’s a short clip of what you would see once you follow the below steps, a custom dashboard was created to monitor the scaling process – its pretty simple and intuitive and i would leave it upto you to build something similar.
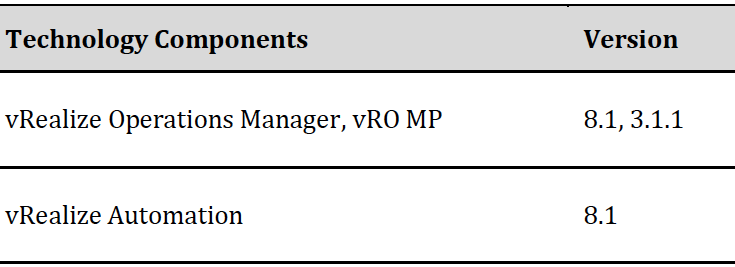
Technical Details!
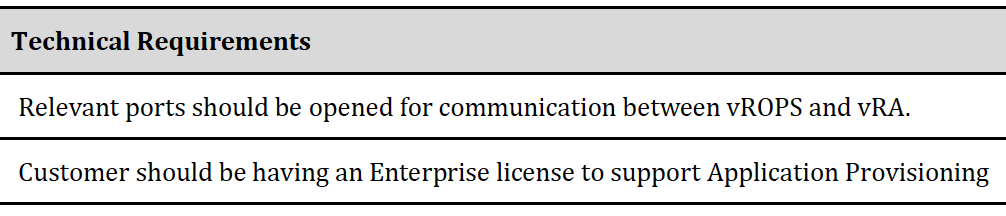
Below are the technology components used for this POC demo, please make sure as newer versions of these products roll out – appropriate testing needs to be done in your lab.
A 2 Tier Blueprint as detailed in this solution guide needs to be imported, the current solution showcases a 2 Tier App with NSX-T based load balancer which would be deployed as part of the solution, for the POC setup we are using the OpenCart application which uses an on-demand routed network for the frontend and MySQL server.

The trigger used for the solution is an alert created in vROPS based on symptom which uses CPU utilisation as its metric
Note: – This symptom is customisable, and the base alert can be triggered with any metric which is associated with the Virtual Machine / NSX-T Load Balancer instance.
vROPS measures the Average CPU utilisation for the frontend servers every 5 Minutes and check’s for any alerts which are triggered for the front end components for the deployment , if it finds any alerts related to a CPU Spike based on the CPU Utilisation (%) hitting a specific threshold the vRO MP in vROPS would trigger a PowerShell script via vRO to invoke the vRA 8 REST API’s and trigger an Auto Scale OUT of the vRA deployment. The reverse also holds true for Auto Scale IN – where if the load on the webserver’s goes beyond a certain value CPU utilisation decreases and a Scale-In would be triggered.
Note: – Scale IN in a practical scenario can’t be triggered instantly as it may conflict with scale out actions, hence a decision should be taken to schedule the scale in during off business hours. At a particular time simulating off business hours – a scale in would be triggered which would bring the deployment size back to small.
Detailed Implementation
This section would dig into details of the implementation specifics, the section has been split into 3 parts.
1) vRA configuration – This section deep dives into the configurations aspects of the solution which includes importing the Open Cart Blueprint and import of vRO Package into the setup.
a) Create the following Pre-Reqs for a demo environment.
- Create vCenter, NSX-T cloud accounts. o Integrate the NSX-T cloud account with the vCenter server
- Create a cloud zone and associate the cloud account. o Associate the compute cluster resource
- Create the Image and Flavor mappings as outlined in the DEMO Blueprint.
- Create the network profiles for existing NSX-T LS.
2) Import the Load balanced OpenCart Blueprint from the below link, it also consists the binaries for vRA 8.1 Auto Scale package too.
Note: – The cloud config uses git clone to download the OpenCart binaries, its recommended that vRA 8.X setup has access to internet so it can download the binaries, in case there is no internet access – You can do a GitLab internal repo. Go to bit Nami and download the GitLab ova and install it in their environment, then fork the GitHub repo and put it on GitLab and point the cloud config to GitLab.
Release the Blueprint to the catalog and Entitle the same for the end user to consume it via the service broker.
Place a request for the 2 Tier APP with the Node & Cluster size set to “Small” and verify a successful deployment by trying to reach the LB VIP to access the OpenCart application.

Note: – Any other custom blueprint can also be used for testing the solution and customised accordingly, the current BP is for vSphere – we can extend this to AWS, AZURE, GCP – any public cloud supported by vRA
Import the vRO Package into vRO 8.1
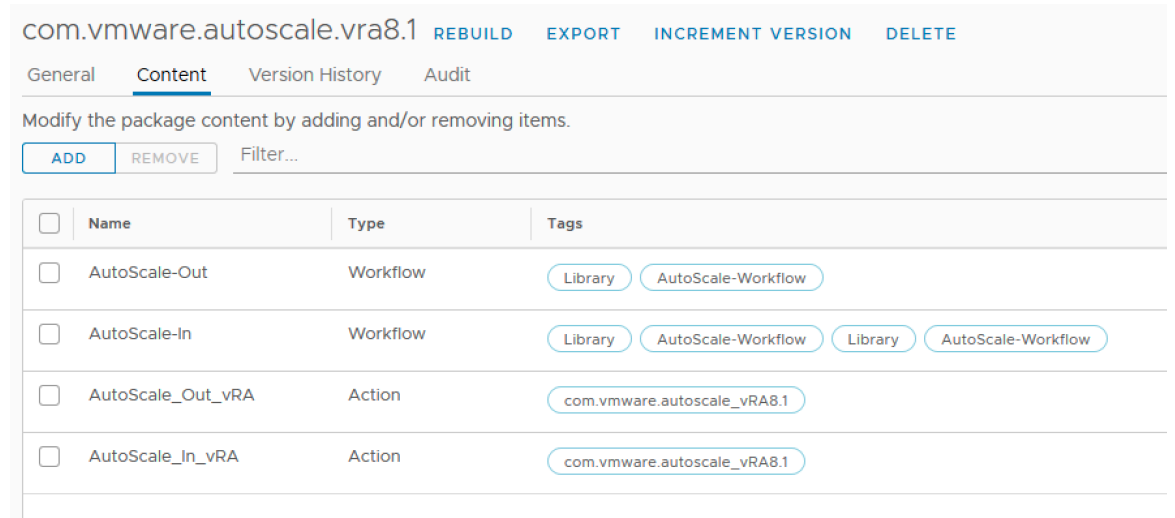
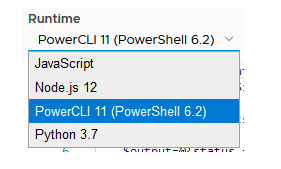
Note: – No PowerShell host is needed as vRO now supports scripting in all languages natively via vRA polyglot
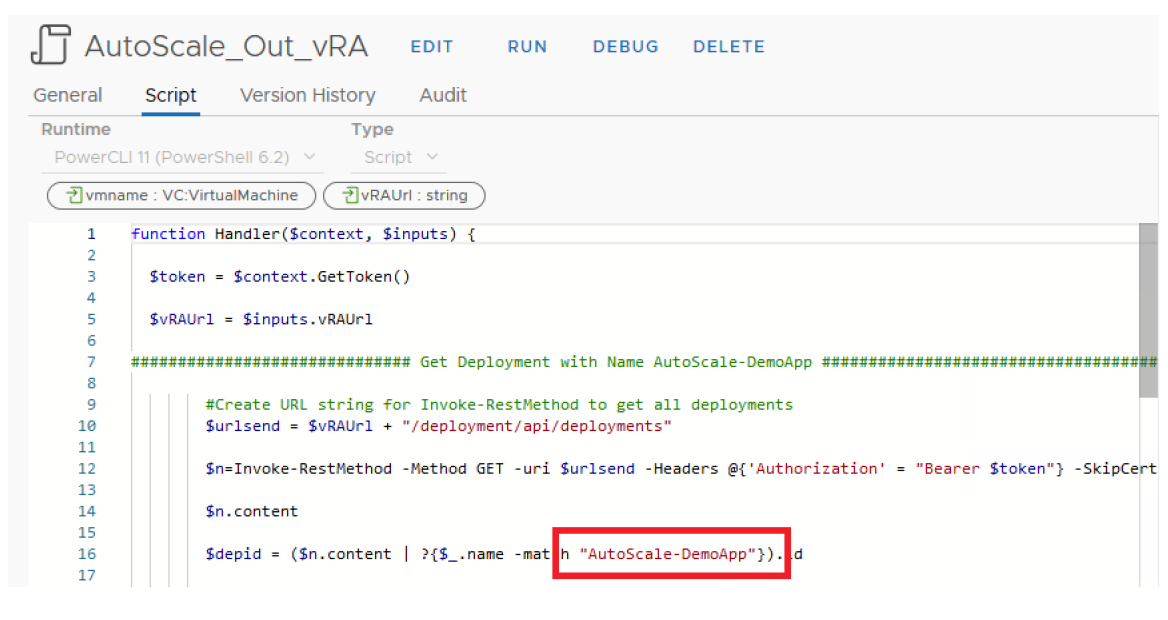
Edit the Action Scripts with the required values for the Deployment Name, vRAUrl
The deployment name used and coded into the action script is “AutoScale- DemoApp” (Figure 4), edit this with the deployment name used in your environment.
Make these changes into both the actions
- AutoScale_In_vRA
- AutoScale_Out_vRA
Also edit the variables used in the workflows which call the above actions with the right vRA URL
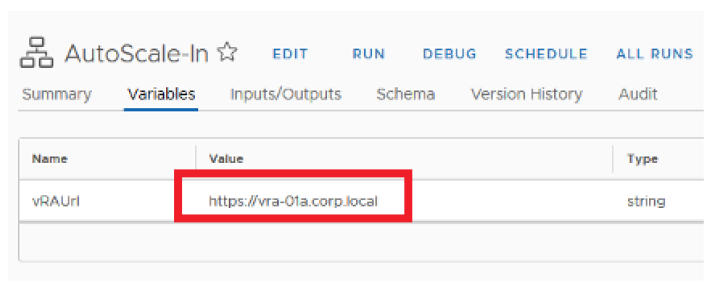
Make these changes in both the scale workflows
- AutoScale-In
- AutoScale-Out
2) vROPS configuration – This section deep dives into the configurations aspects of the solution which includes the creation of alerts which are required to trigger the Auto Scale request.
1) For demoing vROPS advanced and enterprise we can also leverage the capability of super metrics to create a custom alert which measures the Avg CPU utilization across a pool of VM’s. Web servers would always be available as a pool of VM’s under a load balancer ( Either NSX / Third Party ), hence its ideal to get the AVG CPU demand across all these VM’s as the right metric to trigger an AutoScale action for a successful demo, below steps can be followed to create that super metric and use it as a trigger point to initiate scale out request.
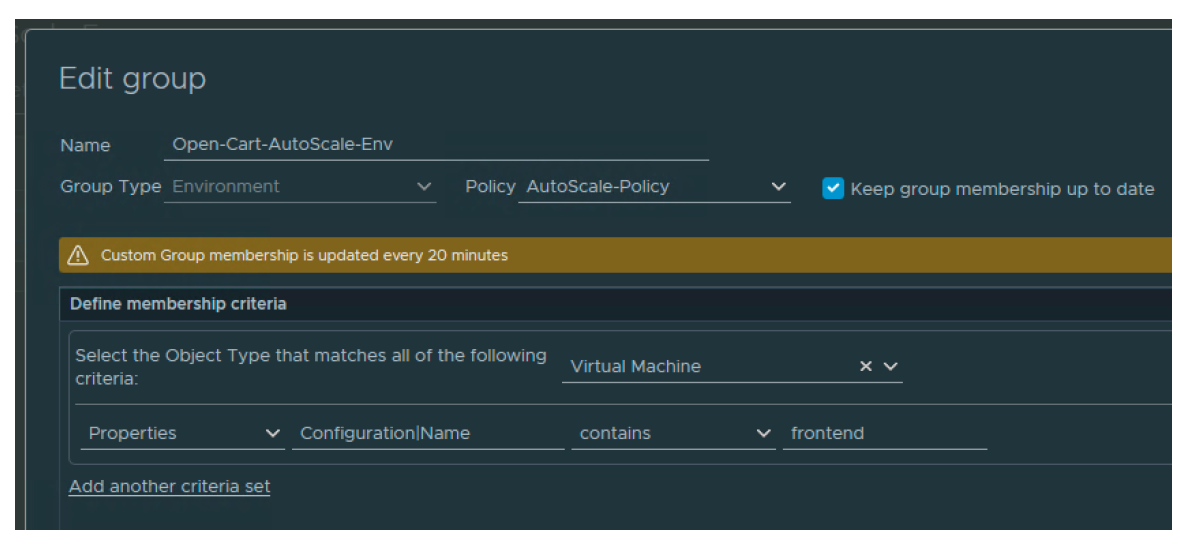
a) Create a custom group as below, also pre-create a policy called Auto Scale-Policy which would be later used to enable the custom alerts, this policy is tagged only to the below custom group.
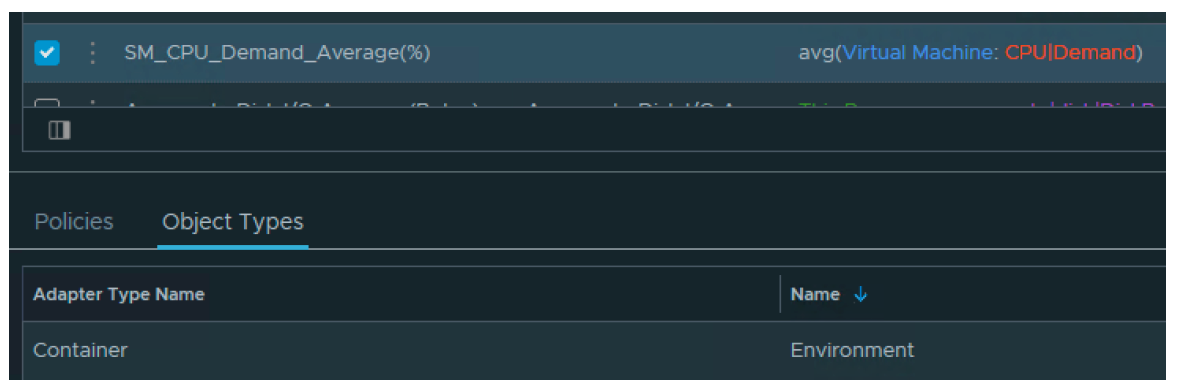
b) Create a super metric to get the average CPU Demand percentage
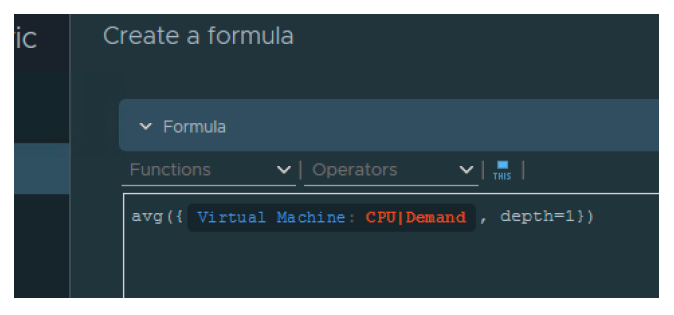
c) Associate the SM to object type Environment, enable the super metric in the AutoScale-Policy only for the container object and click on save.
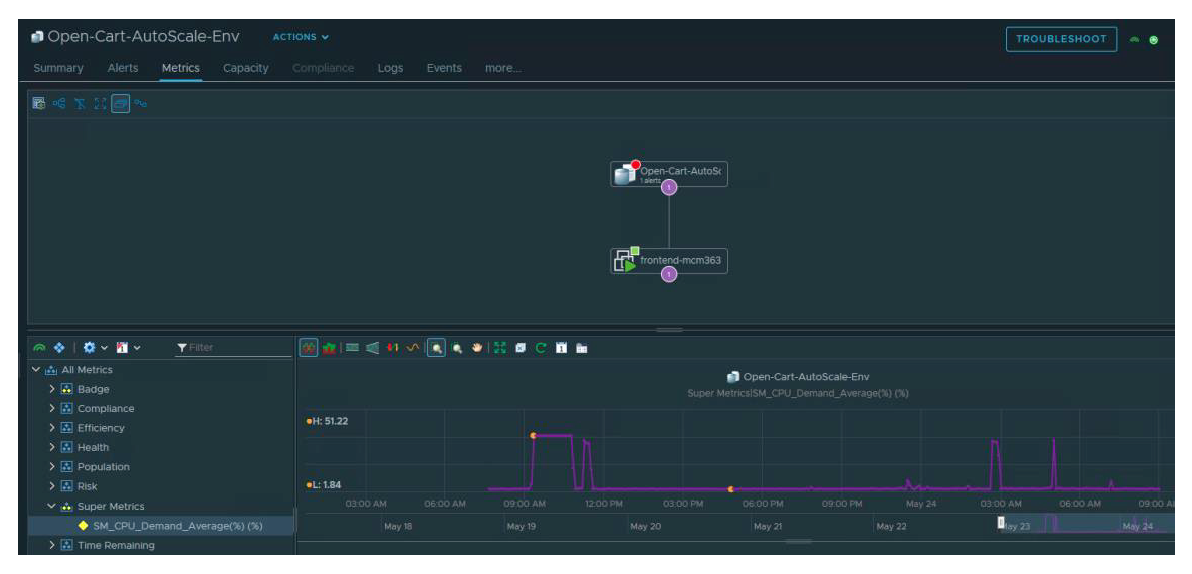
d) Wait for 5 minutes and see the super metric showing for the custom group, verify the same.
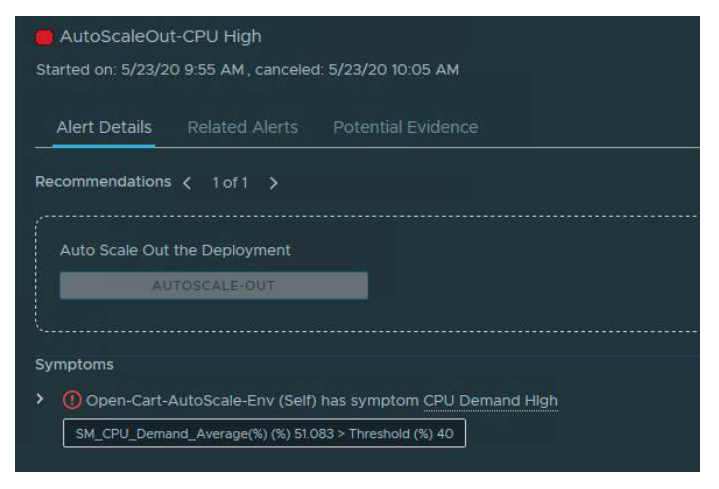
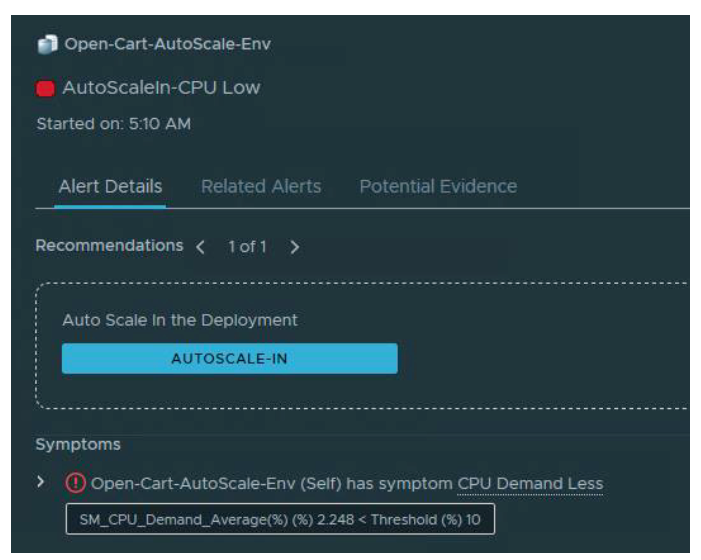
e) Create alerts in vROPS with this metric which would lead to a High CPU Utilisation if the metric exceeds 40% (In the Demo Lab) and Low CPU if the metric drops below 10%
f) vRO MP is used for this solution to automate the activation of the Auto Scale Workflows.
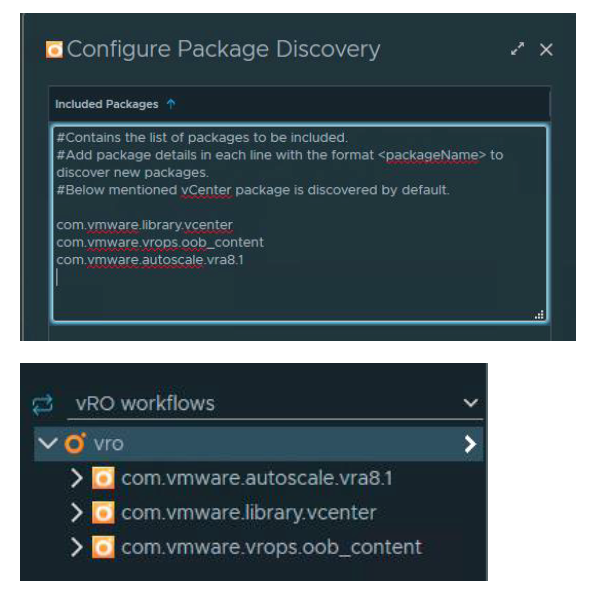
Follow the below guide to configure discovery of the workflows and map the actions to the alerts, also enable Automate to “Local” in the custom AutoScale- Policy.
Configuring vRealize Orchestrator Workflows
3) Testing the Auto Scale Solution – This section covers details on testing the solution in a customer POC setup.
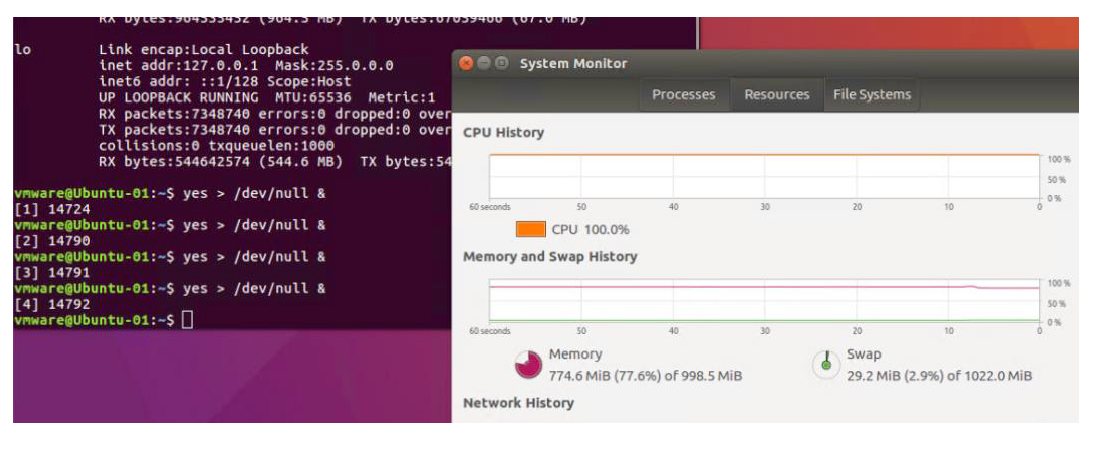
1) Login to the Source VM (Candidate selected for AutoScale) and Generate / Decrease CPU Load, below figure shows a sample for generating of high CPU load on the source VM.
Note: – CPU Load on the Frontend VM’s can also be exercised by sending multiple requests to the NSX LB used for the app.
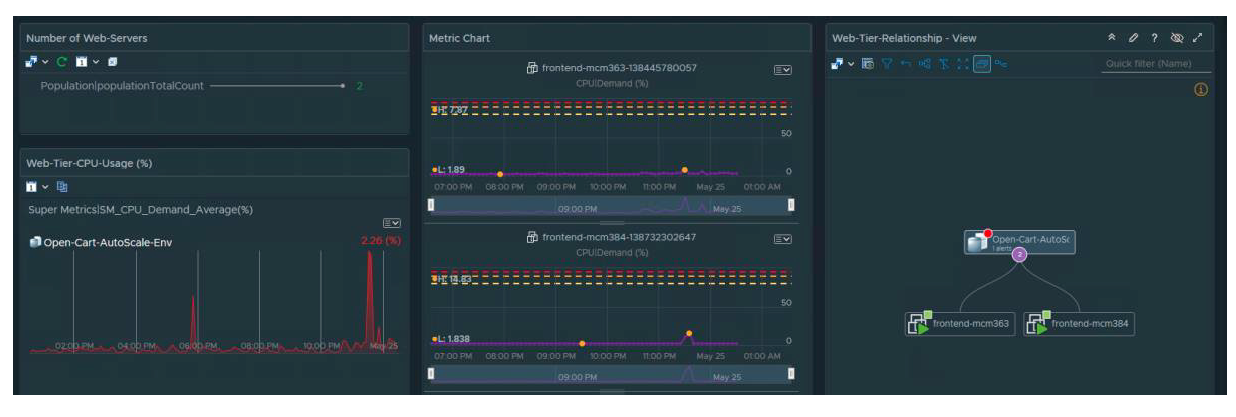
As we have vROPS monitoring the application every 5 minutes, when it sees a CPU High or Low alert, we would see a Scale Out / In activity being initiated for the Web- Tier, a sample scale out activity is as shown as below.


i hope you enjoyed this blog post and use some of these constructs in your creative workflows!.
Something interesting – The current example can be also applied for scaling out a TKG cluster, for example adding more worker or master nodes as the scale of the app increases, the possibilities are endless!